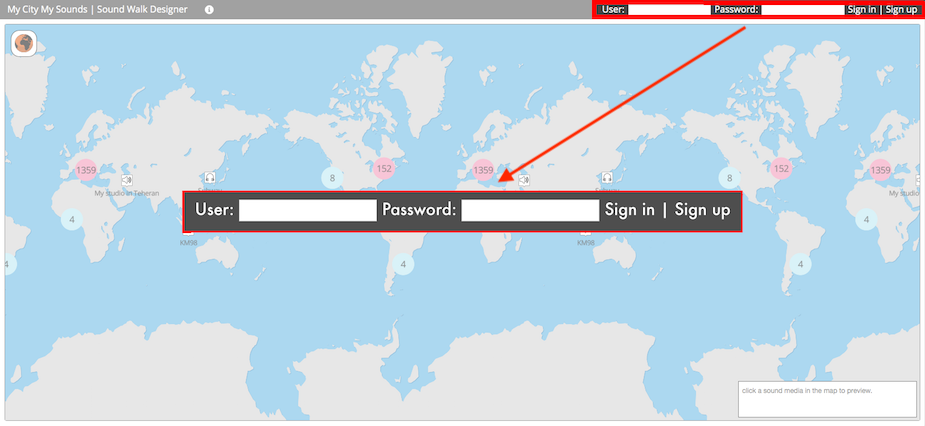


If you already have an account, enter your username and password and click "Sign In".
After you are signed in, you can edit your user information by clicking on your username in top right corner of the page.
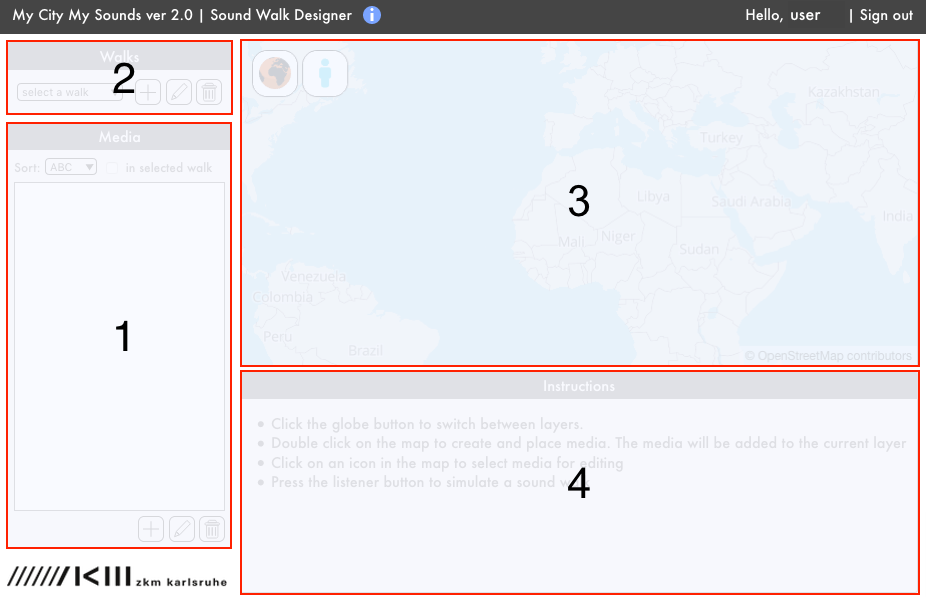
2 - Walks Panel - manage your media walks.
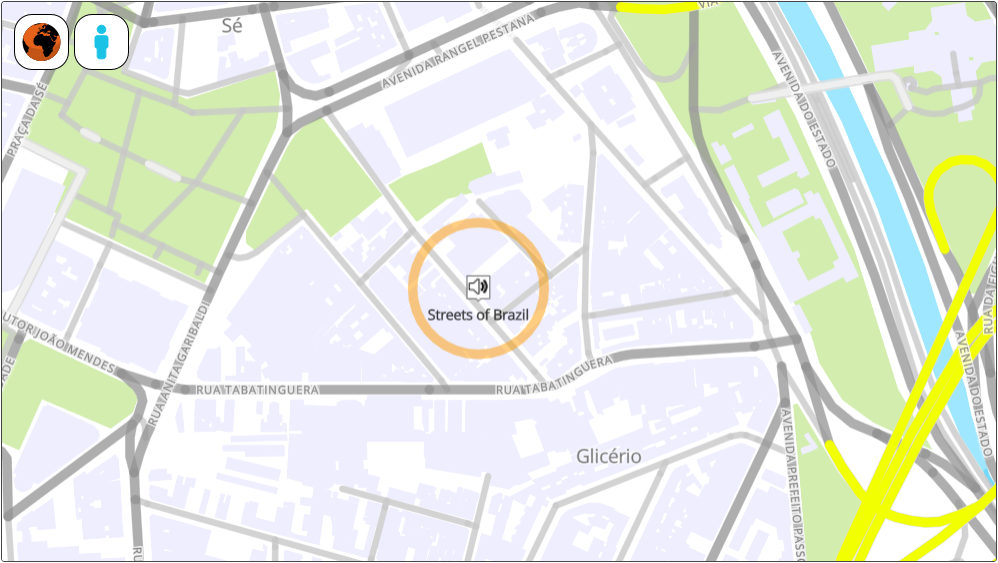
3 - Map - overview of your media's location and walk simulation.
4 - Inspector Panel - view and edit content.
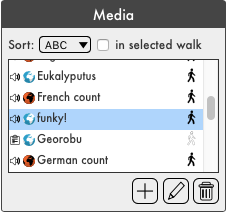
You can sort your media by choosing the sorting parameter in the top menu "Sort", you may also choose to list exclusively the media present in the selected walk (in the "Walk" section) by checking the box next to the menu.
Selecting an entry will focus the selected media on the map and will display the media and its properties along with all its associated information in the Inspector Panel.
Each item on the list indicates the type of media, the layer to which it belongs and its name. When a walk is selected, walker buttons are appeared on the right of the each row. By clicking the button, you can add or remove the media from/to the walk.
The three buttons on the bottom right allow you to create, edit or delete different media.
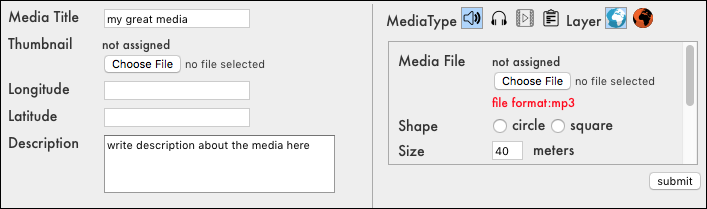
On the left section, you have the general information that will be displayed to users: Title, Thumbnail, Coordinates and Description (simply click on the map to input coordinates).
On the right section, you can choose the media type between Sound Area, Sound Point, Video and Text. You can choose to place your media in one of two layers, above-ground (blue globe) and underground (orange globe).
Below this, you have your type-specific information, here is where you upload the file and set any parameters associated with your media. In the case of a sound area, you can specify five more parameters, such as Size, Volume, Shape, Loop, Resume, and DBA.
- Size ... the diameter or diagonal of circle or square in meter.
- Volume ... the amplitude of the sound. This value is used as a maximum amplitude when DBA is on.
- Shape ... the shape of sound area. You can select currently from circle or square.
- Resume ... if this parameter is on, each sound file resumes the playback when the user re-enter the area
- DBA ... Distance Based Amplitude. If the user walk towards the center of the area, the sound gets louder, if enabled
Once you are done, simply click "Submit" and your media will be created and made available to users. After you submit the media, you can edit any of these fields at any time by selecting the media from the "Media" panel and clicking on the "Edit" button (pencil).
This is the "Walks" section, your existing walks are listed in the menu on the left, here you can select a walk and the media included in that walk will be automatically checked in the "Media" panel and singled out on the map.
To add media to a walk, simply select the walk in the menu and check the media that you want to add in the "Media" panel while the walk is selected.
The three buttons to the right allow you to create, edit or delete different walks.
Click "Submit" to create the walk and make it available to users.
After you have submitted, you can edit any of these fields at any time by selecting the walk from the menu in the "Walks" panel and clicking on the "Edit" button (pencil).
Click on a media flag to select it in the media list and display the media and its properties along with all its associated information in the Inspector Panel.
There are two buttons in the top left corner:
Layer - The button on the left toggles between the two layers, above-ground and underground.
Walk simulation - By clicking the button to the right you enter into Simulation Mode, this allows you to simulate a user's position with the mouse and monitor how your media is experienced by the user. In this mode, the inspector panel shows you the simulated location's coordinates and, in the case of a sound area, it displays which one(s) is active (playing), its Title, Distance from the center in meters, its Volume in percentage, Loop, Resume, and DBA modes.
To quit the Simulation Mode, click on the same button to return to Edit Mode.